The with the "who" settled the next question was "how?". I have never really liked the traditional ring pillows(Some are lovely, just not my style). The ceramic bowls are nice, but I wanted something different. I am pretty sure I came up with this idea myself... Or maybe I got it from Shawshank Redemption.
Ok, so mine will not be shaped like a pick hammer but I decided a cut out book would be perfect. It would be fun, unique and provide a great chance to to really get my craft on. Without further ado, how to make your very own Ring Book:
 |
| (Photo from Movie quotes and more from Shawshank Redemption) |
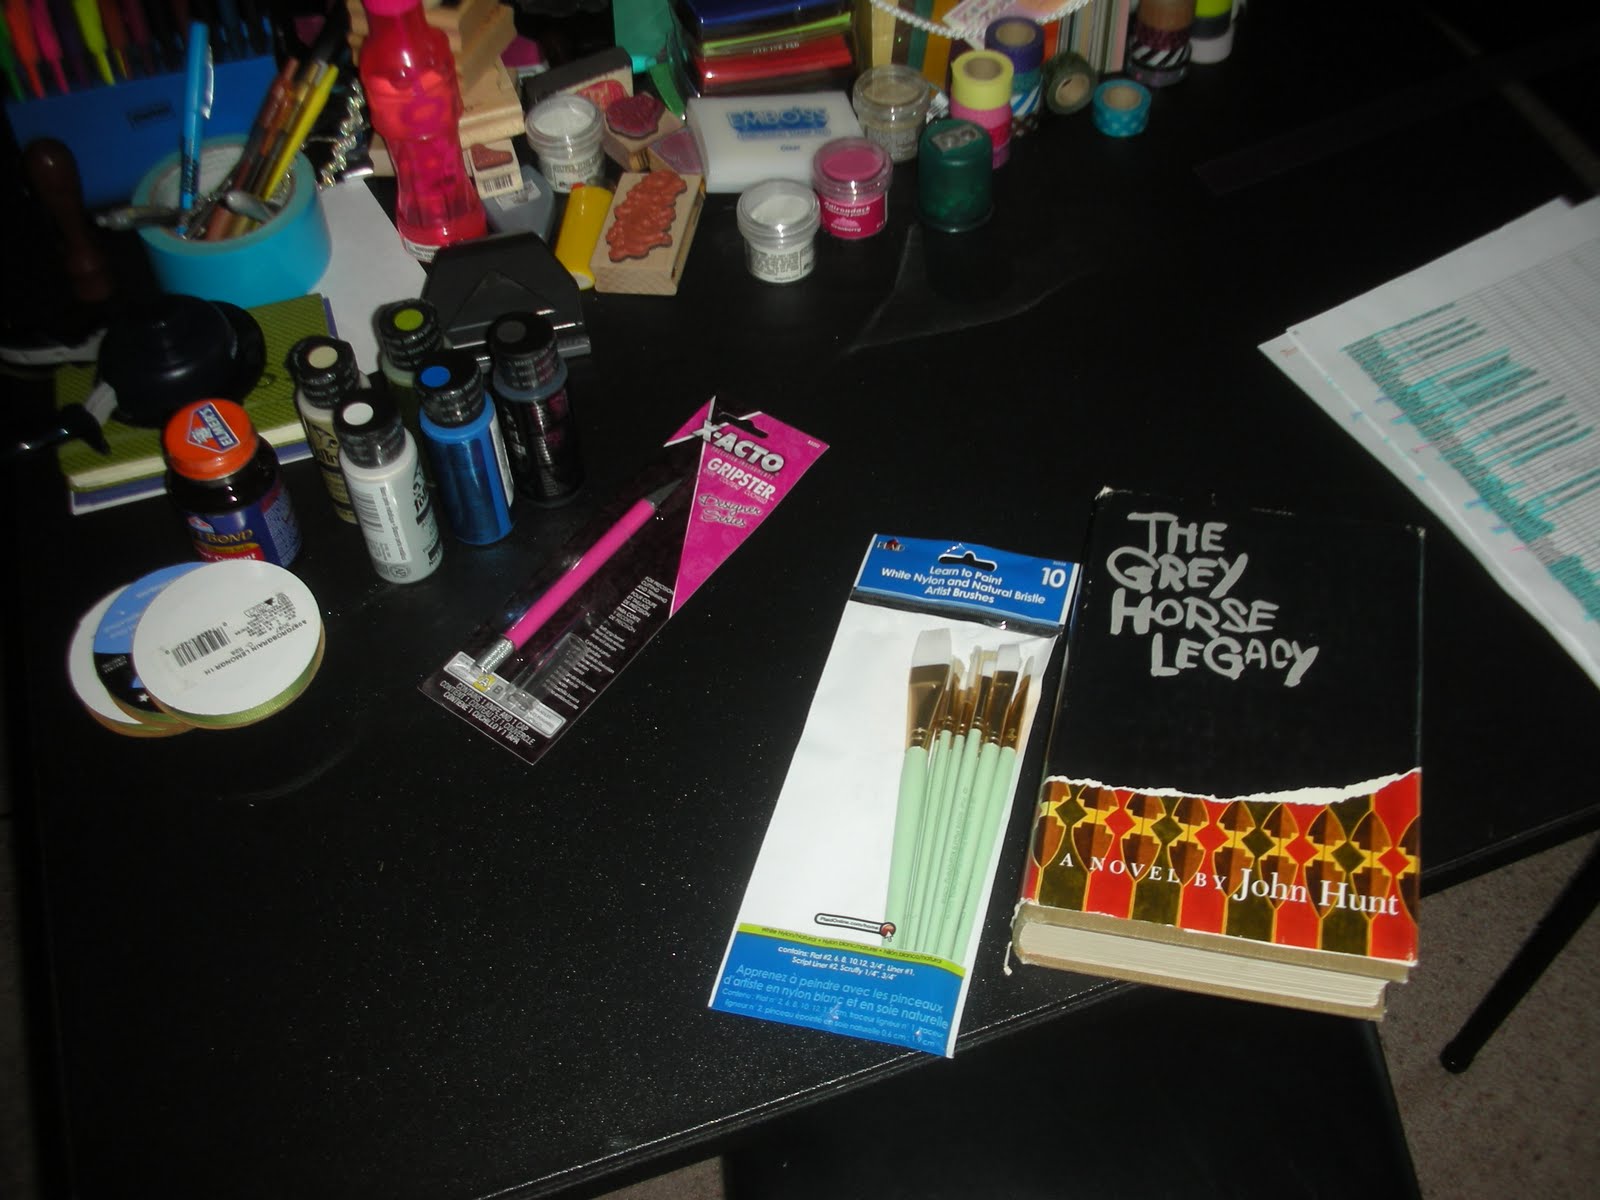 |
| Personal Photo |
Here are my basic supplies:
~A hard cover book
~Paint and brushes
~Xacto knife
~Rubber cement
~Ribbon
~Hot Glue
~Stapler
I got the book at Good Will. I felt a little bad at the idea of cutting up a perfectly good book so I spent awhile reading the jackets until I found the most boring one I could in the appropriate size. I took the paper cover off the book and used rubber cement to glue a small chunk of pages together.
 |
| Personal Photo |
I used clothes pins to hold the pages together while the glue dried. I also glued this chunk to the front cover of the book.
 |
| Personal Photo |
Then, with the "big half" of the book I traced out a heart. You can see I did not like the first go and had to re-do it. After I had a shape I liked, I set to cutting. It took longer than I thought.
 |
| Personal Photo |
I cut about 3/4 of the remaining pages to create a heart shaped hole. About halfway through that I stapled a piece of ribbon (folded in half) so that it extended into the heart shape.
 |
| Personal Photo |
 |
| Personal Photo |
I then used the rubber cement to glue the larger chunk of pages together. Then it was time to paint. Our wedding colors are navy blue and light green. I used a light pearl color on the inside to keep the "book" feel and green accents and navy for the cover.
 |
| Personal Photo |
 |
| Personal photo |
Not too shabby if I say so myself. It still needs something. Hmmmmm... Lets see, maybe a swirl or two?
 |
| Personal Photo |
And maybe our soon to be new initial? I should have mentioned it during the save the date post, but I absolutely adore our wedding font, Harrington. It is so whimsical and beautiful. Anyway, I drew it in as close as I could in pencil and then filled it in with paint.
 |
| Personal Photo |
 |
| Personal Photo |
SQUEE! It turned out better than I could have hoped(if I do say so myself)! All that's left to do now is glue a bit of ribbon on the outside. I used hot glue for this.
 |
| Personal Photo |
And to finish it off, a cute little heart on the back.

Now, The whole thing:
 |
| Personal Photo |
Did you have any projects that turned out better than hoped? Any that created other projects?
No comments:
Post a Comment